Monday, August 25, 2014

Kitchen reno - counter tops, hardwood finishing and paint

Week 5 got off to a bit of a hectic start - counter top installation AND hardwood sanding and finishing both on the same day...much to the contractors' frustration.  I've learned that they don't really like when there are 2 different groups in there at once.  


The hardwoods that we had installed were unfinished, so they had to be sanded down and then stained.  My goodness the DUST!  I thought drywall dust was bad....

About an hour into the sanding, the counters arrived.  So the hardwood guys took a break, got some fresh air, and the counter top installers went to work.  When we were looking at different options, we knew we wanted something lighter than the last house - and something that looked like white marble without all of the maintenance issues of marble.  We also decided that we liked the durability of quartz, so looked at several different quartz brands - Silestone, Cambria, Caesarstone.  

Our 2 favorites were Cambria's Torquay and Caesarstone's London Gray.  We really liked the London Gray the best - it was a little darker, would make the cabinets look pure white, and didn't look as manufactured as the Torquay.  However, the prices that our contractor was able to find left a bit to be desired - the London Gray was TWICE the price of the Torquay...not sure we liked it THAT much....


So M decided to give it a try and set out to call around and price check some things.  First he called the folks at Pyramid Granite who installed the granite in the townhouse.  They were able to get us the London Gray at the same price as the Cambria!  


They are great to work with.  Claudia and M emailed back and forth to coordinate everything, and the guys work quickly and had everything installed in an hour.  


Once the counters were in...back to sanding...


We had them do the whole kitchen plus the stairs, so it would all be the same color.  One quick coat of clear stain went on, and they were gone!  They came back Tuesday to put a coat of polyurethane down, and we couldn't walk on them for 24+ hours...


M was out of town during all of this, so I snuck in before the polyurethane went down to get some quick pictures to send to him!


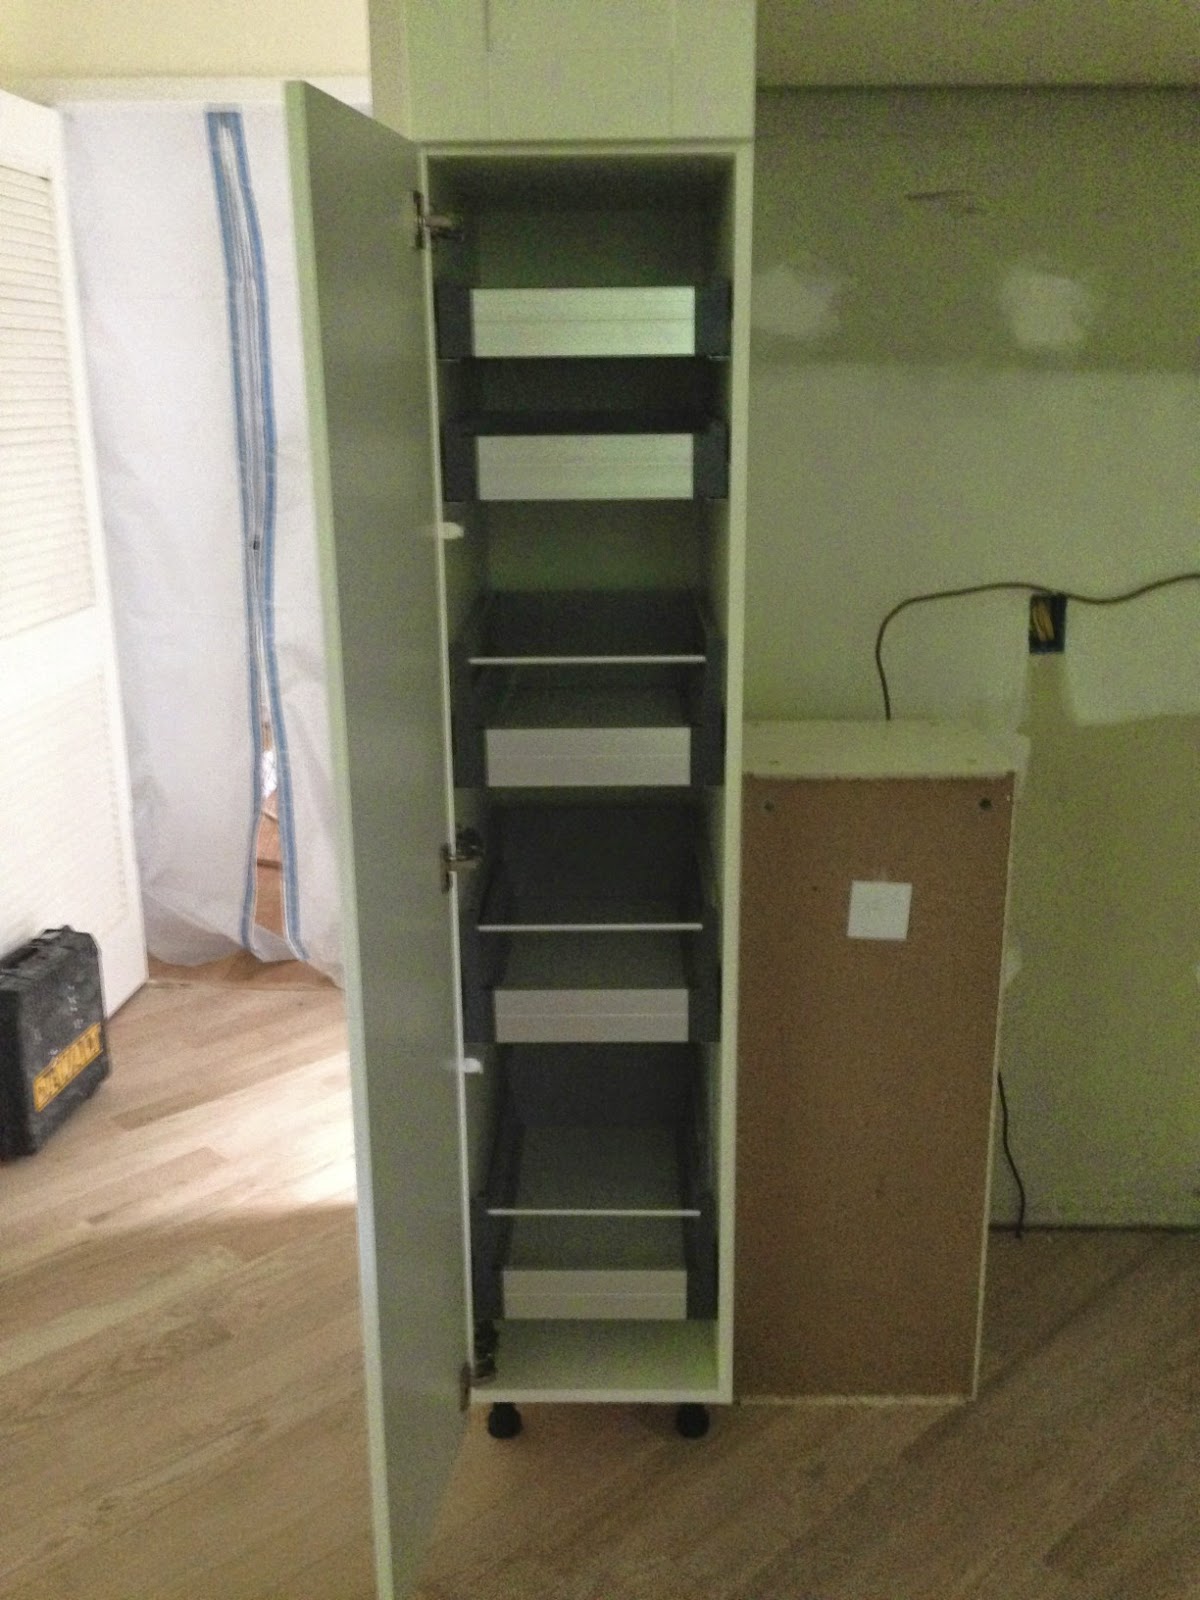
Having counter tops in makes a big difference, it's starting to look like a kitchen!  A couple of days off for the floors to really dry well, and the guys were back at the end of week 5 to put the appliances in, finish putting handles on, hook up the sink, and patch some final drywall.  


Our painter, who was originally scheduled to come not for another 3+ weeks, called last minute on Friday of week 5 with an opening the next day - so of course we jumped on it!!  Canyon Cloud, be gone!  We are painting the mudroom, kitchen, and sunroom all the same color because they are all connected together.  I was traveling on business so I called M real fast to run to Sherwin Williams and grab some paint!  Walls and ceiling - it's so great to have it all finished.  AND we got in during the 35% off sale, too.  


Week 6 starts with tiling the back splash....then a few days off before the island piece comes in, is installed, and painted, which should be the final steps!  We have moved our food and plates, utensils, etc back in... it's only a matter of time!


Kitchen reno, previous posts:


Monday, August 18, 2014

Kitchen reno - island

During the planning process, we decided we wanted to have an accent color on the island.  With a relatively white/gray color scheme, we decided to go with something different on the island.  The color options with Ikea are limited, so we M did some research, and found a cabinet maker called Barker in Oregon to order the island from that could make doors and panels to match the other cabinets.  We ordered the island weeks before construction started, with a plan of it shipping in 5-6 weeks.  Well, 8 weeks later, after some shipping 'challenges' and delays, it finally arrived.  In dozens of pieces, the pallet was delivered to our driveway.  


These are made in the same way as Ikea - assembly required.  So after they arrived Monday morning, that Monday night, we assembled everything for our contractors to install.  


We set everything out, measured the distances around the island, taped some pieces together with bue tape and left it to walk our contractors through our plan the next morning. 


When we got home from work on Tuesday, the island was installed.  And the recessed lights moved...once we got the island in the room, it was even more obvious that the 3 lights along the main wall weren't spaced properly.  Our contractor Steve, while he hesitated at the additional work, agreed that they were off center and we decided to shift them over a bit.  I'm so glad we did this!


The island will house a wine fridge, our trashcans, and drawer microwave.


Once everything was in, we noticed a few spaces between the back panels.  The one space was about 1/8" between the panels, which is very obvious.  We could caulk it, but over time it will expand and crack...


So....the saga continues.  We complained to the cabinet maker, so he's going to send us a new panel.  It should be here in 2 weeks...so the island is on hold a bit.  It has been primed, and the painter took the doors and trim home to paint while we wait for the panel.  It will be here soon...but at least the island is in, so we were able to measure for the counters and have them installed while we wait, and other items are finished.


Kitchen reno, previous posts:


Monday, August 11, 2014

Kitchen reno - hardwood and cabinet installation

Moving right along, it was time for the dated vinyl floors to come up and hardwood to go down.  

When installing hardwood, the planks have to go perpendicular to the floor joists so they have support all the way across the room.  We discovered during the planning process that our floor joists change directions in the middle of the room.  Another little snag... so this means that we had a couple of options.  We could change the hardwood direction halfway through the room.  We could rebuild floor joists so we could run it all one way.  OR - we could go diagonally!  We were a little skeptical at first, but we LOVE the floors!!  


To give you a time frame reference, they were installed on the Friday of the second full week.


Once the floors were in, it was time to go to work installing cabinets.  Monday of the third week, they started on cabinets.  As you may remember from a previous post, we put them all together, and the contractors are installing them.  M stayed home the two main installation days to help them find the right cabinets, pieces, etc since they were a bit all over the place.  

After day 1 of cabinet installation
Ikea cabinets are installed on the wall a little differently than others.  They go on a track system.  So you hang a track on the wall (see the top middle-left of the photo) and nailed into the studs.  Then you hang the cabinets from the track, and bolt them together.  


The fridge will go here, and a TV will be installed above the fridge - thanks to the blog Design Megillah for the idea!


We also got new cabinets for the mudroom.  While we were doing the construction, we thought we should just go ahead and replace those as well.  Plus we wanted another big pantry cabinet for things like boots, umbrellas, Cady's dog food, etc.


So part of the deal with the contractors was that we would also finish putting the cabinets together once up.  M said this was WAY worse than the initial part that we thought was relatively easy and quick!  He spent hours in the kitchen installing drawers, slide out shelves, and putting the finishing touches on everything.


But having all of these shelves in the new cabinet pantry is going to be great!


Moving right along!  It's starting to look like a kitchen!  At this point we're waiting on the island to be delivered so it can be installed, then countertops measured and installed, floors finished, more lights installed, tile, hood and appliances!  We are now finished with week 3...


Kitchen reno, previous posts:

Friday, August 8, 2014

Kitchen reno - progress

Day one finally came!  Kai and Steve from Moss have been our contractors on site every day, and they've been awesome.  So they got started removing cabinets, and they came down so fast!  It wasn't like the home improvement shows where everyone takes a sledgehammer and goes to town, splintering wood off in every direction - he just unscrewed them and took them down!  


So while they were working, I went into the office...and at about 2:30pm, M called...and said we had an issue and I needed to come home....

They really had worked fast!  


So the original plan called for the full wall to come out, and be rebuilt back at the edge of the door in the mudroom, to keep the mudroom space but give us at least a foot extra in the kitchen by removing the pantry.  See the corner in the photo below?  None of the 10 or so contractors we had come look at the space noticed this...that's the exterior of the house, and we can't go back any more...


So...options.  Ok, one option was to push that door out, and frame it up where the step is to make the exterior straight...that was going to come with a $5700 price tag.  Great, so...option b?


Option B was to frame out that corner, make it look more intentional in the kitchen, and rearrange the layout of the kitchen.  Luckily, since we did decide to go with Ikea cabinets, we could just load up the car that weekend, drive to Woodbridge, return them and buy new ones for the new layout.  

Cady was not pleased that she was blocked from where all of the action was.


So with plan b in place, the work continued and they started framing the wall and working on electrical.  That took a bit longer than expected - with the removal of several walls that housed lights, switches, the security panel, and phone jack, there was a lot of rearranging that needed to be done.  Plus, they had to bring the plugs up to code.

We also decided to close in the side window.  It was an odd shape compared to the others in the room, and looked right into our neighbors' back yards.  Especially in the winter with the leaves gone, it was a little too close for comfort.  Plus this way we can run cabinets along that whole wall.


We've had lots of questions from friends about this.  During the planning process, we really thought a lot about this, asked a few realtor friends, and other designers.  We also hung a thick blanket up over the window, taping the sides down to really see how it would change the light in the room.  Yes, it will be darker, but there are still 2 large windows in the space that let in lots of natural light. 


Once we passed the county electrical inspection, they could start closing the walls up and drywalling! 


Next up comes hardwood and cabinet installation! 


Previous kitchen reno posts: