Showing posts with label DC. Show all posts

Wednesday, September 28, 2016

Kitchen finale!

Better late than never?! 

It's only been almost 2 years since this project was finished...but about the time I was ready to write a 'reveal' post, my computer crashed...I'm finally getting around to finishing this post.  We are still on the hunt for a colorful runner to go in front of the sink, and finally have the photograph I've been wanting, that I still need to frame, for the big empty spot between the windows, but we're getting there!  We absolutely love our kitchen, and are so glad we didn't wait too long after moving in to remodel it.

Enjoy a good 'before and after' show!


One of my favorite parts of the kitchen is the tv.  Now, when I'm cooking dinner and there's a Nats game or something else on, I don't have to keep shouting to the den to see what's happening!  And, we put it on a movable arm, so we can hide it. 

Now you see it....


Now you don't!  


We also connected in a Sonos speaker above the cabinets so we can have music in the kitchen, which I have on almost all the time.  


Microwave, trash can/recycling and beverage center all in the island.


We absolutely love it, and as they say, everyone really does live in our kitchen!


Source list:
Cabinets - Ikea
Island cabinets - Barker
Contractor - Moss Building and Design
Floors - Artisan Floors
Mudroom floor tile - Lowes
Counter tops - London Gray quartz by Caesarstone - Pyramid Granite
Backsplash tile - Sixth Sense, 4x8 from Mosaic Tile
Over counter pendants - West Elm
Kitchen table pendant - Crate and Barrel
Hardware - Restoration Hardware
Paint color, island - BM Polo Blue
Paint color, walls - BM Gray Owl
Stools: World Market
Kitchen Table: CB2
Chairs: Overstock

Tuesday, February 17, 2015

More house projects!

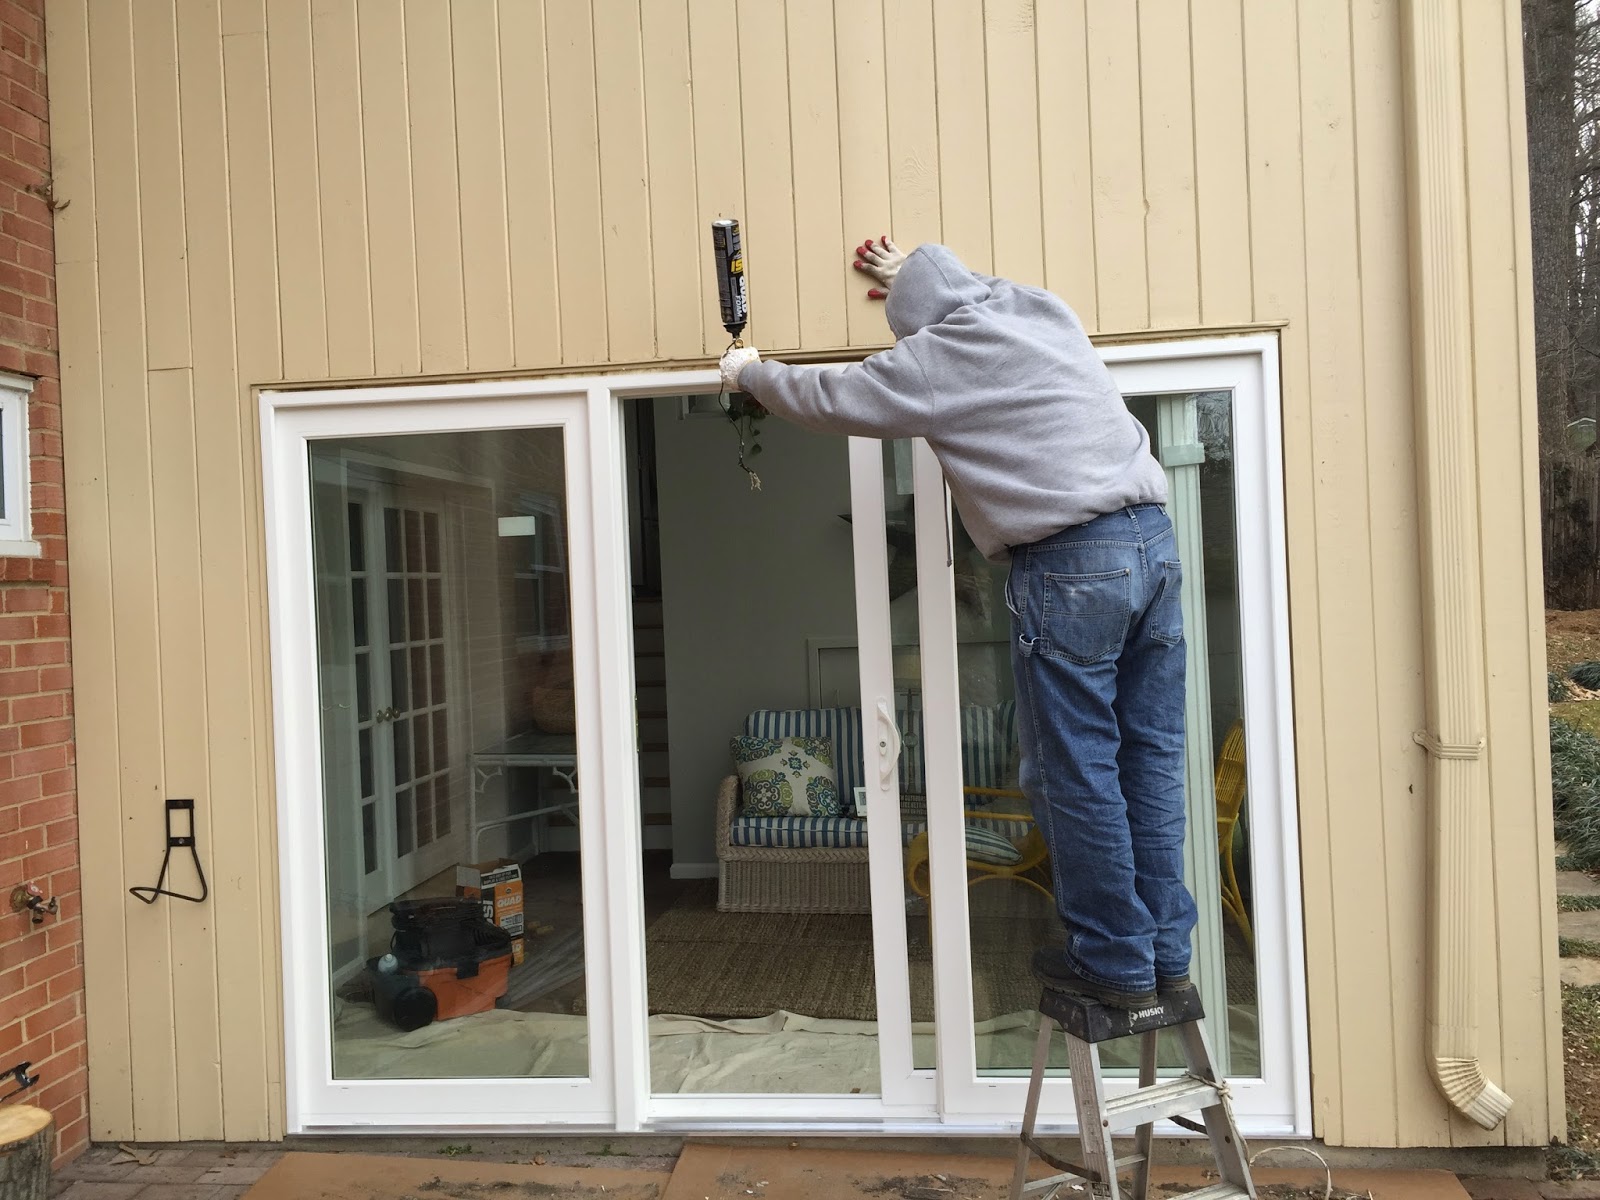
Last Friday was a big day in our house!  We replaced the 50+ year old fence AND the 30 year old sliding door!  

First, the door...


The old one was the original door from when the previous owners put the extension on - in 1985!  The cold air that seeped through was unbelievable, and it was heavy and hard to open.  It wasn't close to being energy efficient! 


YAY!  It looks so much better now!  And it's at least 10* warmer in the sunroom now.  It was surprising how hard a 3-panel door was to find, and how freaking expensive it was!


Then, the fence...  We had hoped to get a few more years out of the fence, but it was really starting to lean and fall in places...it was also original to the house, from the 60s!   Also, we found that doing this in the winter was much better than waiting until spring - we got better pricing and much faster installation.


It came down really pretty quickly, but lots of pieces broke off as they were loading it onto the truck to haul away...it was almost disintegrating in their hands.


We also decided that we were glad to be putting a pretty fence back up - the back yards around us aren't the prettiest...


Big new door!  We went with the 48" and I'm so glad - hauling leaves and other junk out of the back yard will be so much easier now with the bigger gate.


Finished!


 We decided to go with pressure treated wood instead of the cedar.  We just don't see us being in the house long enough to justify the additional cost.  


This is the last of the projects for a little while.  We have some serious landscaping to do in both the front and the back this spring...but I think that's going to be a lot of sweat equity!


We used MC Fence and Deck  for the fence and the door is a Soft-lite Kingsroyal.

Monday, February 9, 2015

Now you see them...

We have never loved the 2 big crepe myrtles at the front door.  You may remember, last winter I attempted to at least trim them to a more manageable size...   It didn't really help.  They are huge, block the house, and are messy.  Plus...they just aren't terribly pretty when it comes to crepes.  I love crepe myrtles, but these just weren't doin' it for us...


We had talked about moving them, hoping they'd be a little more tame, but it just wasn't happening.  M got a chain saw for Christmas...and put it to good use last weekend!!


Amazing the difference!


M dug up the stumps, too.  We have big plans for the front yard and removing a few more plants and extending the grass back a bit, and adding back in a few plants that are more evergreen, colorful, and not as random!  


We can't get over the difference - and don't know why we waited so long to make the change! 


Tuesday, October 28, 2014

Kitchen reno - mudroom

After a lot of debate during the kitchen planning process, we came to the conclusion that keeping a mudroom space at the side door was the way to go.  And I'm so glad we did!  Here, you can see the before photos...small, but functional cabinets, beautiful peg coat rack, awesome light(bulb) on the side of the wall, and the pantry... all in the mudroom...

Before...


There was a decent amount of storage in the pantry, but having it around the corner from the kitchen was less than convenient.  So where the doors were is where we decided to put the new wall - adding 18" of space in the kitchen.


During...with the wall and pantry gone!


We ordered cabinets for the mudroom to match the kitchen.  We also went with one big, pantry/closet sized one to put Cady's food, towels, and other stuff that comes along with having a dog.


We needed to build the big cabinet up a bit so it would go up to the ceiling, and Steve our contractor suggested this - a shoe cubby!  So he built us a little box to throw flipflops, etc, and it's perfect.  We had paint matched to the cabinets so we could paint the shoebox to make the whole thing look custom.


We originally were just going to run the hardwood through the whole space, but after the messy, snowy winter we had last year, I made a last minute decision to go with tile.  We found these darker, slate looking tiles at Lowes and it only too a box and 1/2 to do the whole mudroom.


We love the floors!  They look so good.  Once everything was finished, it was time to get some hooks up...which proved to be a little more difficult than we'd hoped.  Instead of putting them straight into the drywall, we had to add a board and drilled them into that.


Once painted to match the wall color, you can't even see it!


The mudroom is finished!  We would like to find a new rug, but for now - this one will do just fine.  It's the perfect spot for Cady, muddy boots, coats and bags, and will lots of use.  I'm so glad we decided to keep it separate from the rest of the kitchen.


And it's great to come home to a nice, functional space, especially when you're greeted by this crazy one!